Uefy v2.6.0 for Blender 5.0

Uefy 2.0 Epic MegaGrants Recipient

The release of Uefy 2.6 (Pro Edition) addon for Blender makes it trivial to rig all the mannequins provided in Unreal Engine 5.

  • UE4 Mannequin
  • Manny 89 bones
  • Quinn 89 bones
  • Manny 161 bones (Experimental)
  • Quinn 161 bones (Experimental)

Uefy 2.6.0 bring compatibility with Blender 4.0 and Blender 5.0

Prebuilt metarigs for rigify are provided for all of these mannequin. Just need to move the mesh from the original import to the final rig.

Also rig custom characters made in Blender/Zbrush etc and from character generators such as Daz3d, Reallusion Character Creator and many others.

Uefy Script (Lite Edition)Free old version, limited to UE4 mannequin
Uefy 2.6 (Pro Edition) UE5 compatible, Advanced Functions, Rig Anything!

See product page for details: Uefy v2.6.0 (Pro Edition)

Step-by-Step Walk Cycle Tutorial (with In-Depth Explanations)

For those of you who want to follow along with the video, here is a detailed, step-by-step guide. I’ve also added notes to explain how each step contributes to a better, more believable animation.

Click here to watch the Walk Cycle video on Youtube

1. Project Setup

This initial stage is all about creating a clean and predictable foundation for your animation. Getting this right from the start saves a lot of headaches later!

  • Set Frame Rate: Go to Output Properties and set the frame rate to 24 FPS. 24 frames per second (FPS) is the standard for film and gives a classic, cinematic feel. Other common rates are 30 or 60 FPS for video games and broadcast. The most important thing is to set this first, so all your timing is accurate from the get-go.
  • Adjust Timeline: Set the timeline to end at 24 frames. Since our frame rate is 24 FPS, a 24-frame timeline creates a perfect one-second loop. This makes the math simple and is a standard length for a basic walk cycle.
  • Add Markers: Add markers to the timeline for your key poses (e.g., Contact, Down, Passing, Up). You can use M to add a marker and Ctrl+M to name it. Markers act as visual signposts. They don’t affect the animation itself, but they make your timeline readable. You can instantly see where your key poses are supposed to be, which is incredibly helpful for organizing your workflow.
  • Verify Loop Range: Ensure the last marker (for your final contact pose) is placed just outside your 24-frame playback range (e.g., on frame 25). A seamless loop works by having the pose on the first frame be identical to the pose on the frame after the last frame. If your animation plays from frames 1-24, the pose on frame 25 needs to match frame 1. This way, when the animation loops back to frame 1, there’s no pause or stutter from a repeated frame.
Continue reading “Step-by-Step Walk Cycle Tutorial (with In-Depth Explanations)”

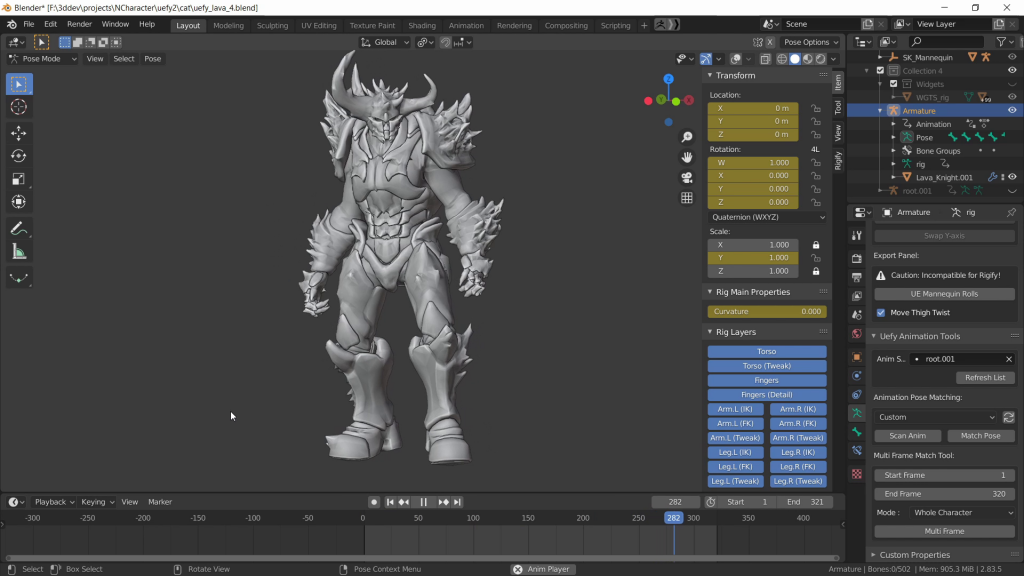
Using Match Pose feature in Uefy 2.1

Uefy v2.1 adds a new Match Pose feature that can pose the rigged character to be the same as an imported animation.

This is significant because now we can easily copy Key Frames from existing animations. Allowing us to seamlessly blend our custom animations with existing sets like those on the Unreal Marketplace.

Prior to this feature it had to be done manually. By individually moving every single control to it’s correct position in an attempt to match the pose of an existing animation.

There are Limitations

However it is important to understand the limitations of this feature and how it works to use it effectively.

Continue reading “Using Match Pose feature in Uefy 2.1”

Blender 2.83 LTS and Uefy Script

Blender has been moving forward with new updates at light speed. Many new features have been added. Including new functionality for Rigify that is really awesome. Rigify was always a good rigging system but with these new updates it can truly stand on it own against some of the more larger systems.

These new updates and changes have been transparent to Uefy Script without any breaking effects. But there are some cosmetic changes to the interface you should be aware of when following what is shown in the older youtube tutorials.

FBX Import and Export

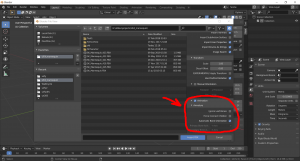
New location for FBX import / export options

When importing or exporting FBX files the options for the armature and animation are on the right side of the dialog box. Only the location has changed. You still get the same options and they still operate the same way.

Continue reading “Blender 2.83 LTS and Uefy Script”